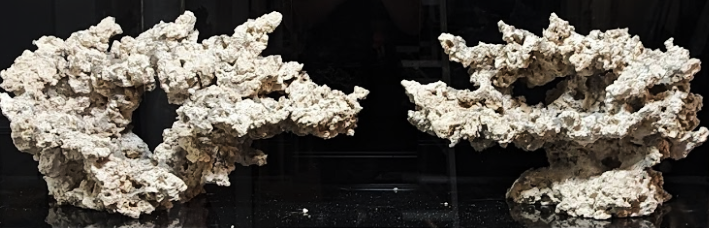
From Our System: This is the exact aquascape I built for the grow out systems in our fish room in Warner Robins, GA. It was designed from the start to maximize coral placement, flow, and visibility.
Most reef tanks fail the aquascape test before a single coral goes in. Rocks stacked haphazardly block flow, shadow half the tank, and leave no clean real estate for high end frags. I built my scape the opposite way: armature first, corals second. This guide walks through the full process I used, including the design decisions that were specific to keeping and displaying arcane corals.
1. Why Build Custom Instead of Just Placing Rock
Off the shelf live rock placed loosely in a tank creates dead zones. Water stagnates behind and beneath piled rock, detritus accumulates, and you end up with cyano and nutrient spikes in the exact spots you cannot reach to clean. A custom built aquascape solves this by treating the rock structure as architecture rather than decoration.
For a coral grow out system the stakes are even higher. Every surface is potential real estate. A well designed scape creates distinct zones at different heights, depths, and light levels so you can place SPS, LPS, and softies where their actual requirements are met rather than where there happened to be a flat spot. The PVC armature approach also keeps the structure elevated off the sand bed, which dramatically improves flow under the rock and makes cleanup far easier.
The mortar technique means the structure is permanent and will never shift or topple. For a tank that holds valuable coral, this matters. A rockslide can wipe out a colony that took years to grow.
2. Materials
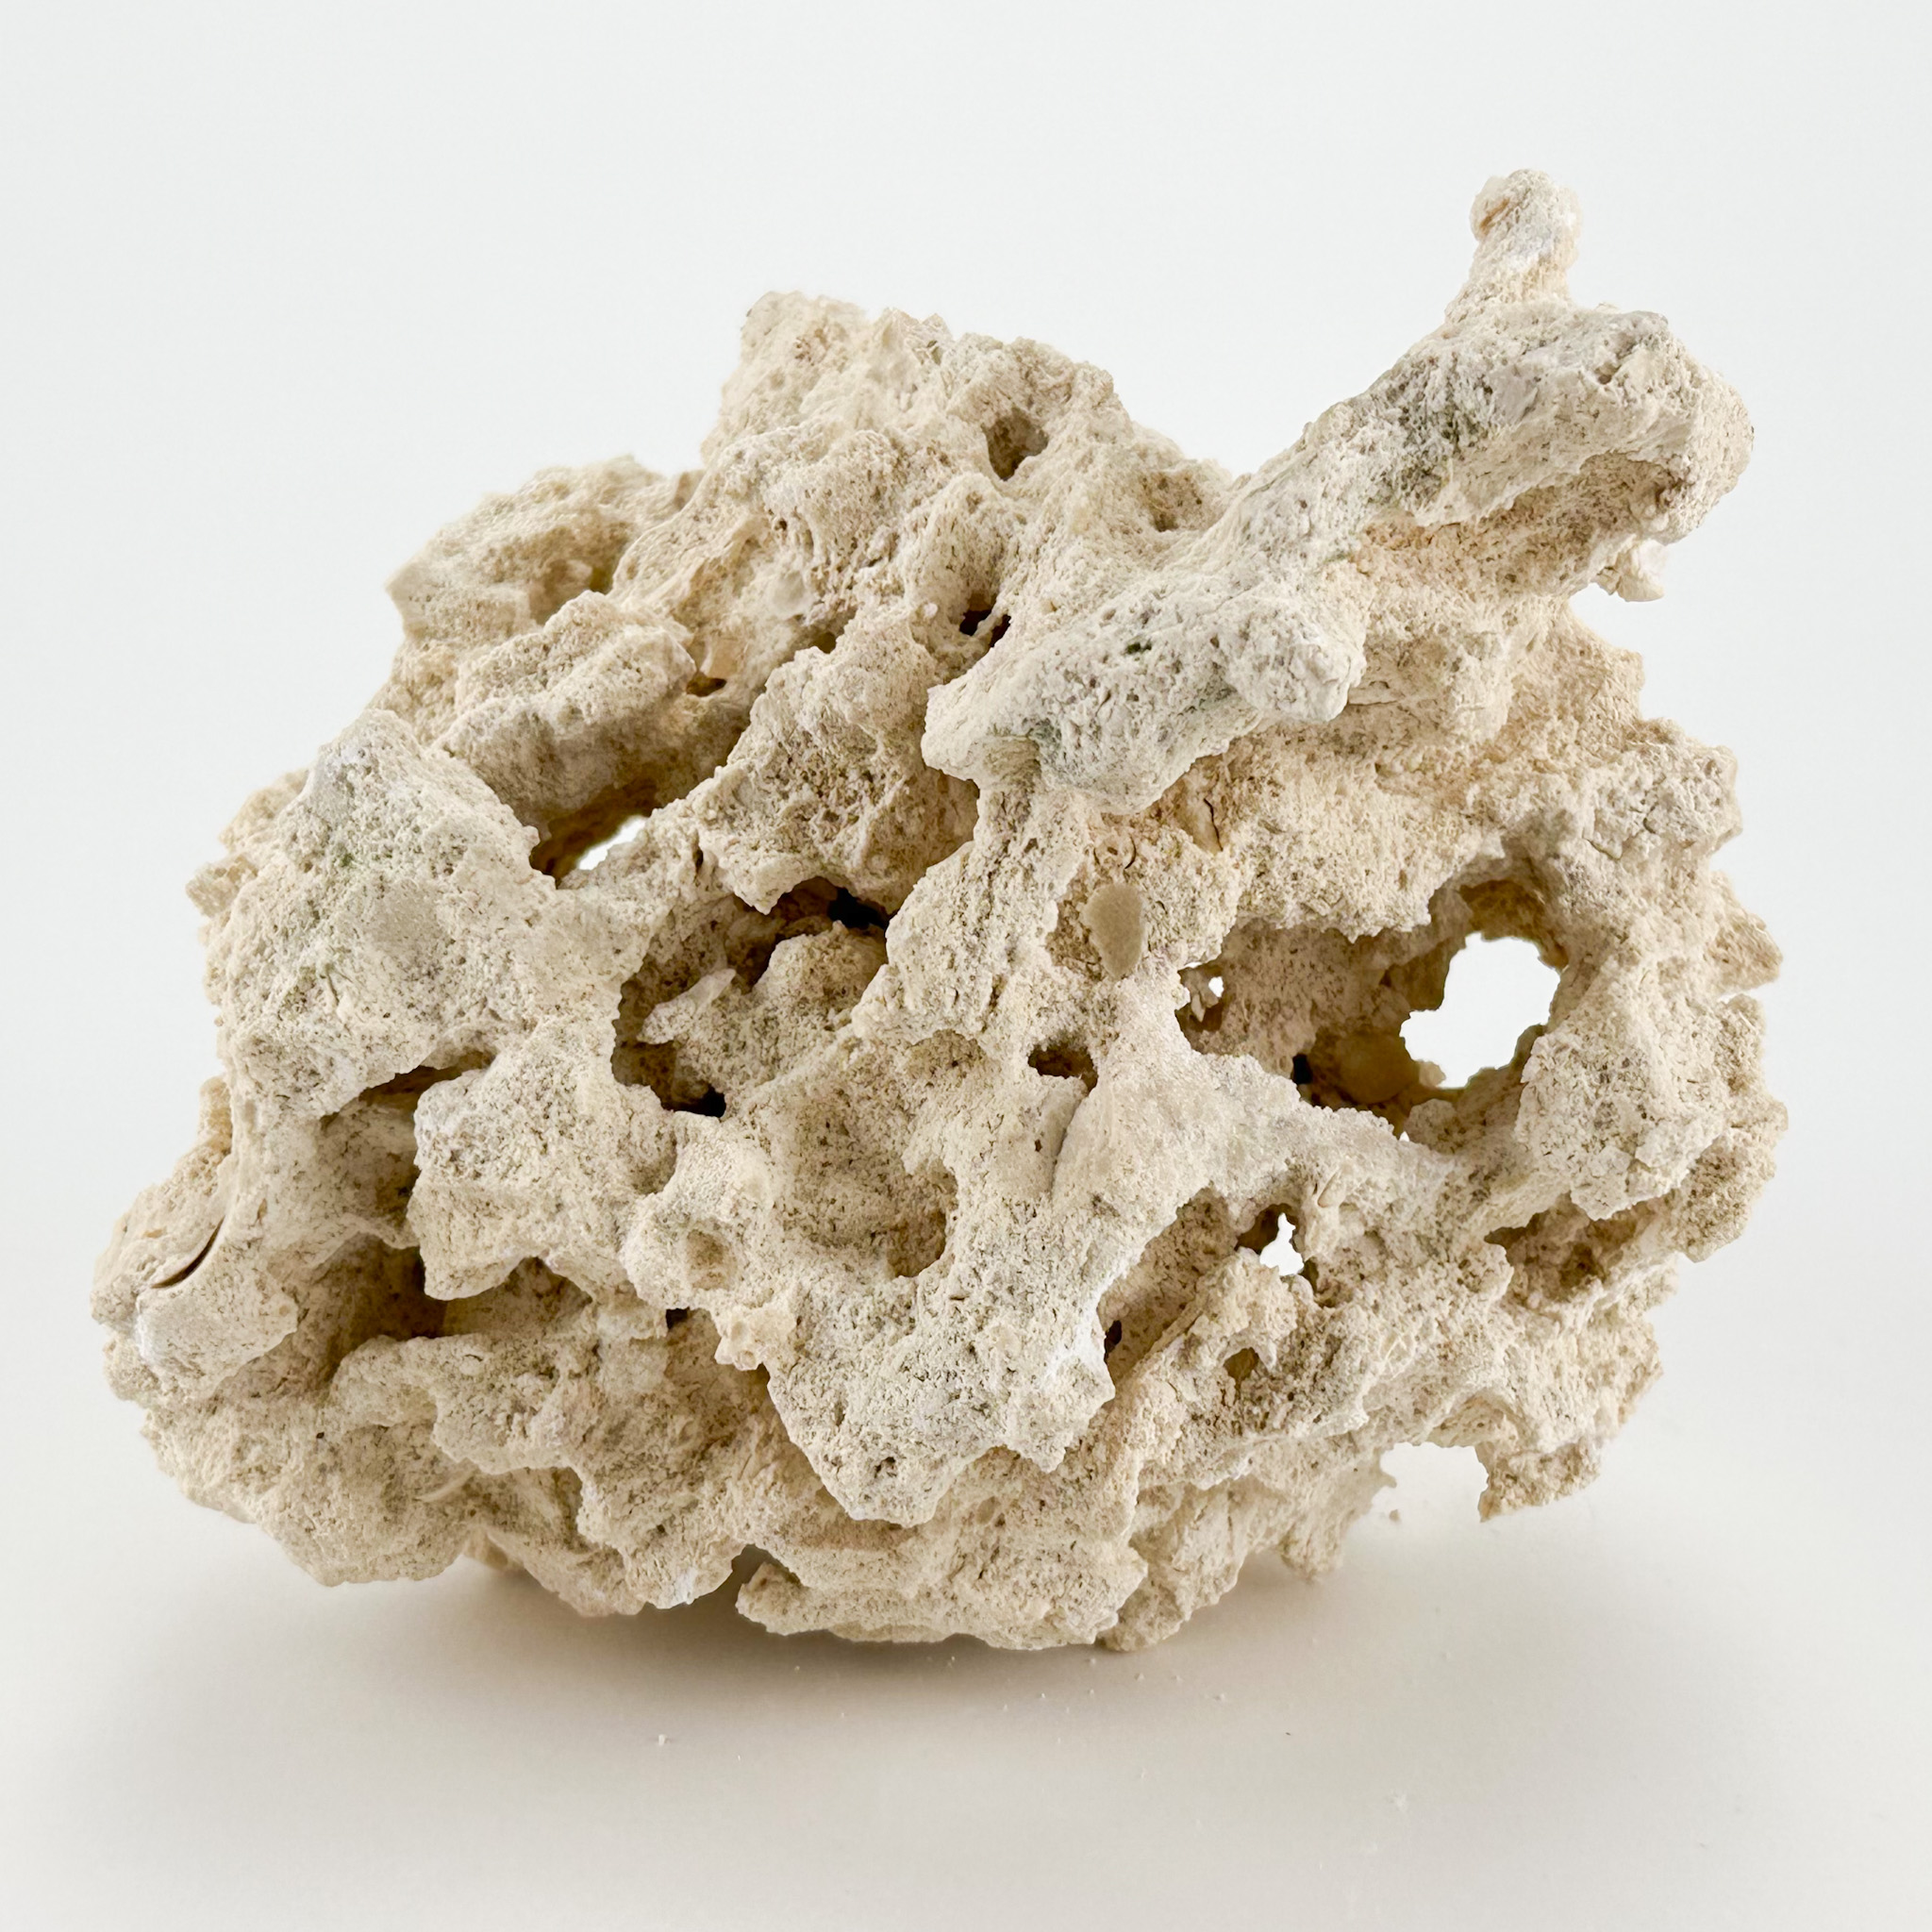
I use Marco Rocks exclusively. They are dry, pest free, and consistent in shape, which matters when you are designing a structure rather than just piling rock.

3. Designing for Coral Placement
Before you touch a single rock, think about the corals you plan to keep. This step is what separates a grow out scape from a display only scape.
SPS corals need high light and high flow and benefit from being placed near the top of the structure or on exposed peaks. LPS like hammers, torches, and frogspawn need medium indirect flow and moderate light, making mid level ledges ideal. Softies and low light species can go lower and deeper in the shadow of overhangs.
I sketch the scape on paper first with rough zones marked: top third for SPS colonies, mid section for LPS display pieces, and any overhangs or lower rock for softies and cleanup crew shelter. The goal is for the rock to do the placement work so you are not constantly fighting flow and light with individual coral positioning.
Negative space is as important as rock. An open arch or gap in the scape creates flow acceleration that benefits corals positioned near it. Leave deliberate passages rather than filling every gap.
4. Step 1: Build the PVC Armature
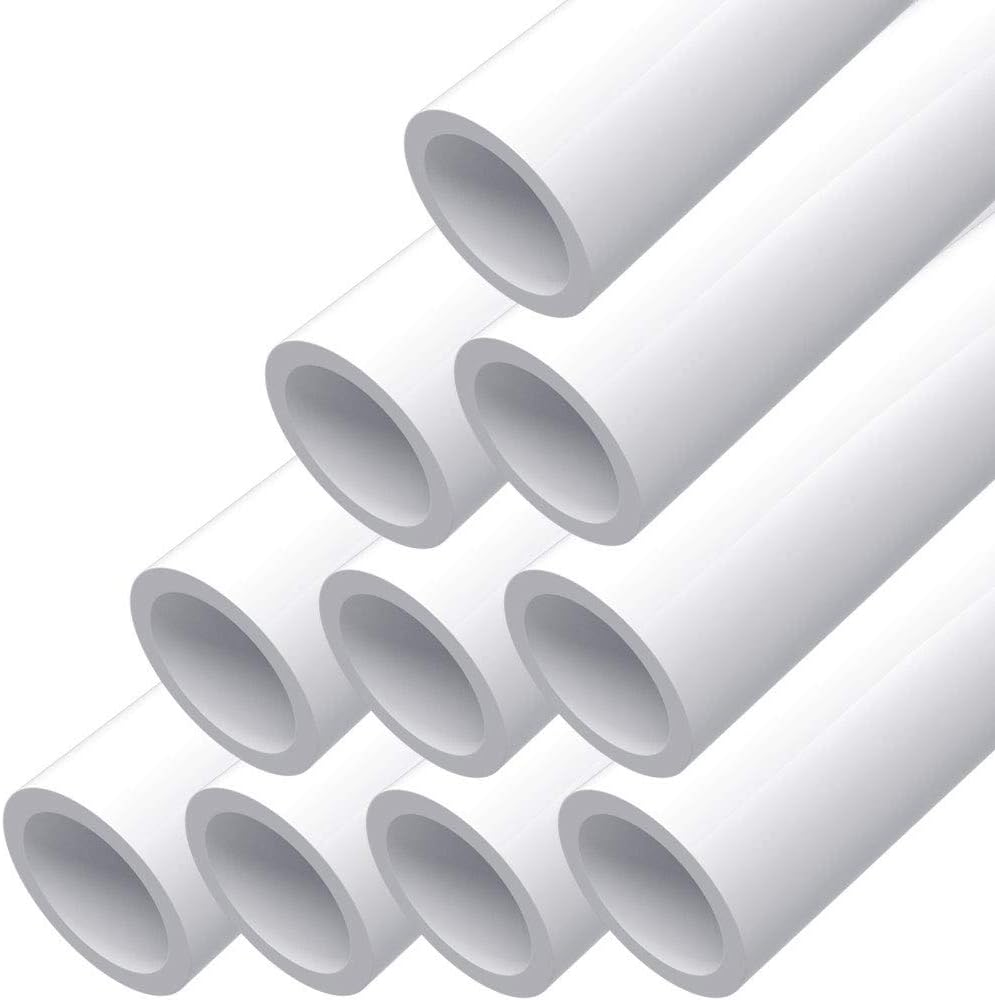
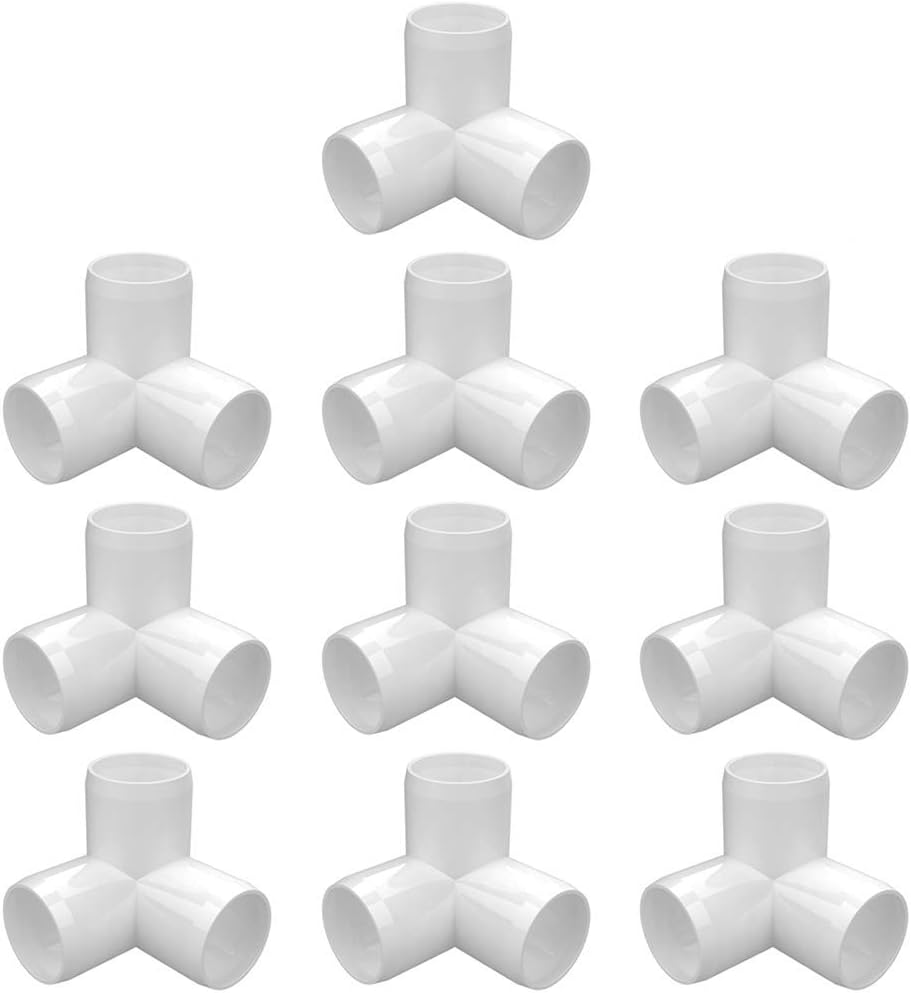
Cut PVC pipe to create a rectangular frame that fits inside the footprint of your tank with a few inches of clearance on each side. The 3 way fittings let you add vertical risers that the rock will be built around and over.
The armature does not need to be pretty. It just needs to be stable and slightly smaller than your intended scape footprint. The rock will hide all of it. Keep the frame low enough that it sits below your sand bed or just at sand level so the legs disappear.

5. Step 2: Sort and Shape Your Rock
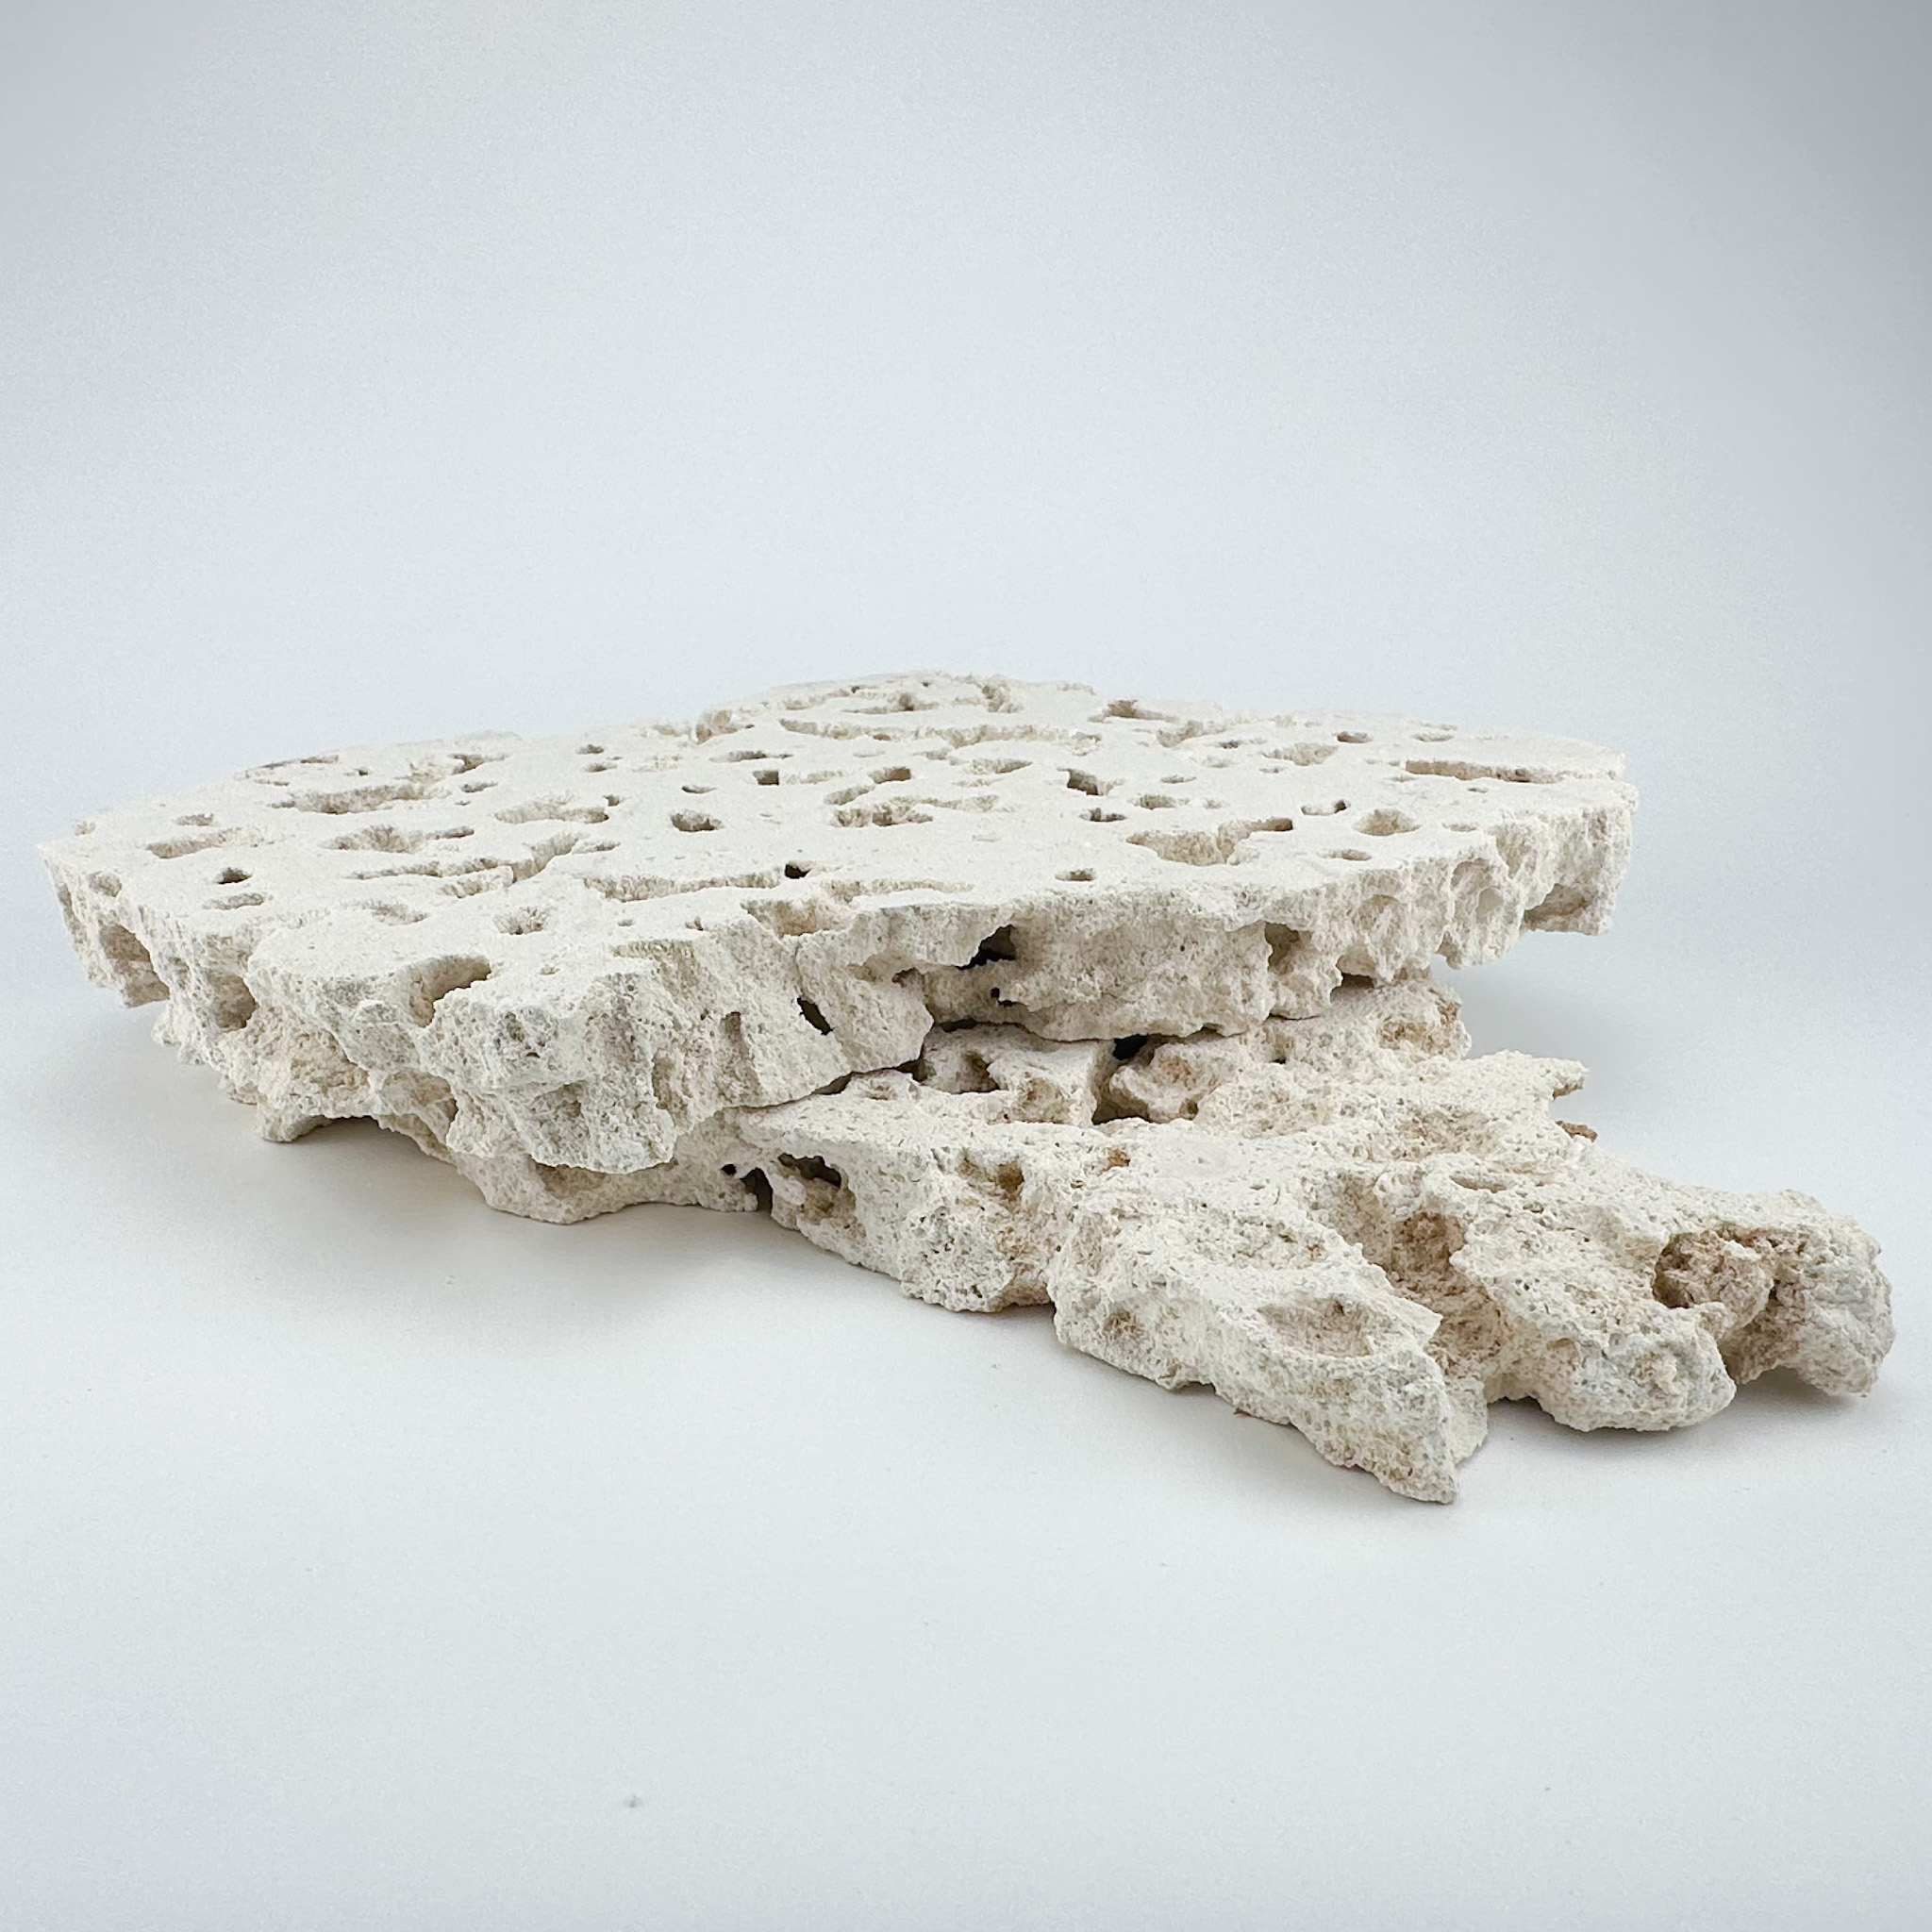
Lay all your rock out on a flat surface and sort by size and shape. The 2 side cut pieces from Marco Rocks are ideal for bases since they have flat faces that sit stable. Larger irregular reef saver pieces work well for the body of the scape. Reserve smaller pieces for detail work and filling gaps.
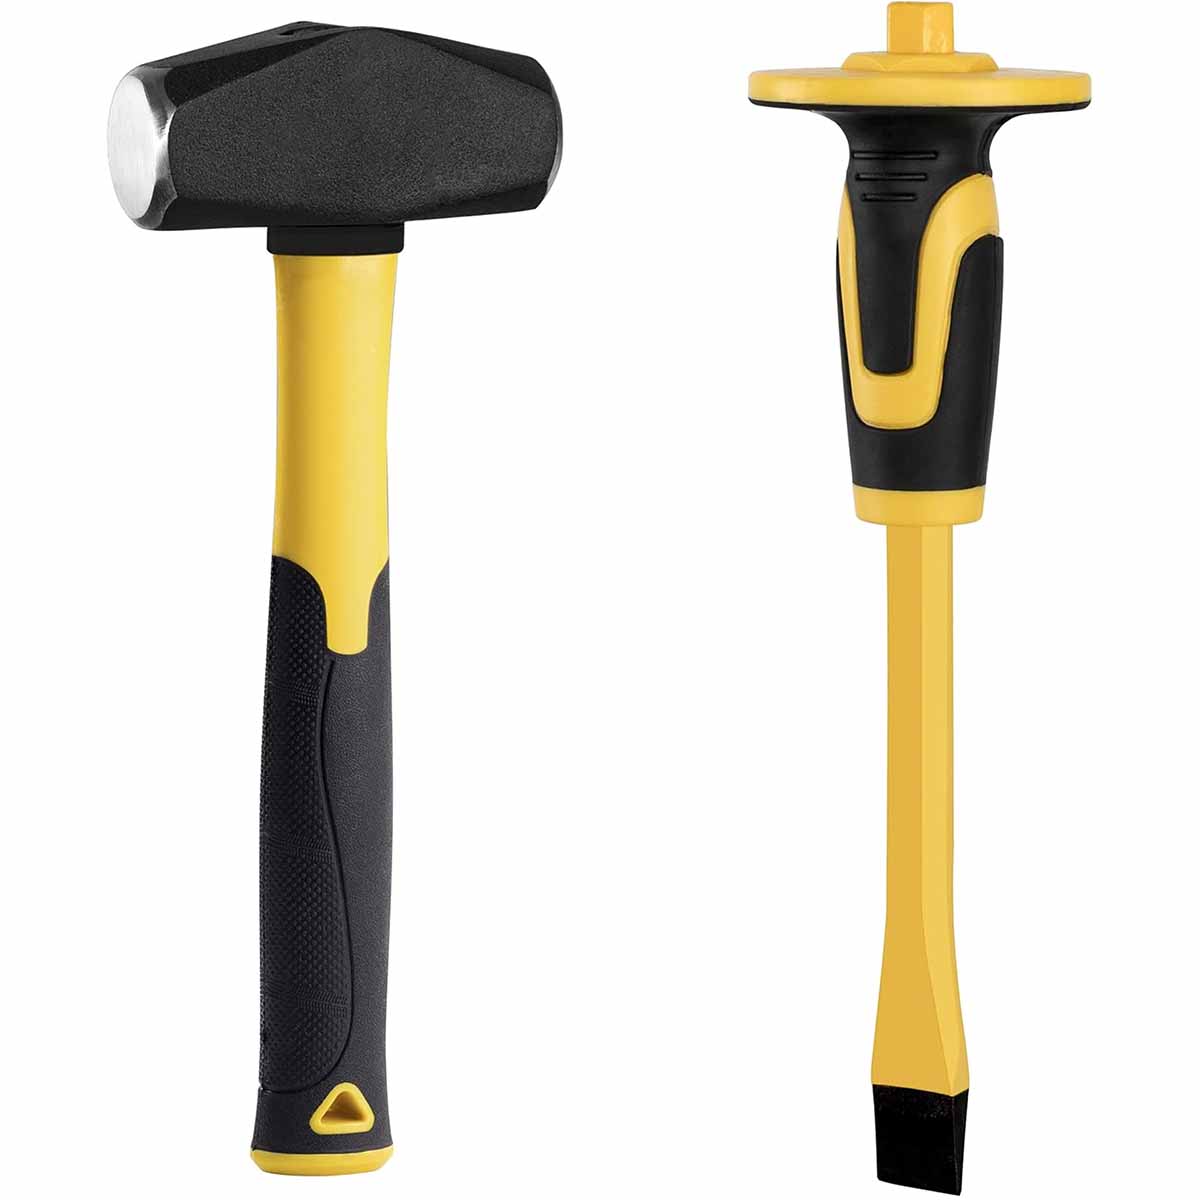
Use the hammer and chisel to break down any pieces that are too large or oddly shaped. Strike along natural seams in the rock. A piece that seemed unusable often breaks into two perfect pieces. The offcuts and dust get saved for covering mortar seams later.

6. Step 3: Dry Fit and Iterate
Spend real time on this step. Dry fit the entire scape without any glue or mortar and live with it for a day if you can. Take photos from the front, both sides, and above. This is your only chance to make changes cheaply.
Look for: rocks that are unstable without support, gaps that are too large and will need bridging pieces, areas where you have lost the flow paths you planned, and surfaces that would be awkward to attach frags to. The best coral mounting surfaces face slightly upward and outward rather than straight up, because that is the natural orientation coral grows and it makes viewing the polyps much easier.
If you plan to keep fish, build in at least two caves or overhangs deep enough for them to retreat into. Fish that have nowhere to hide are permanently stressed.

7. Step 4: Glue the Structure
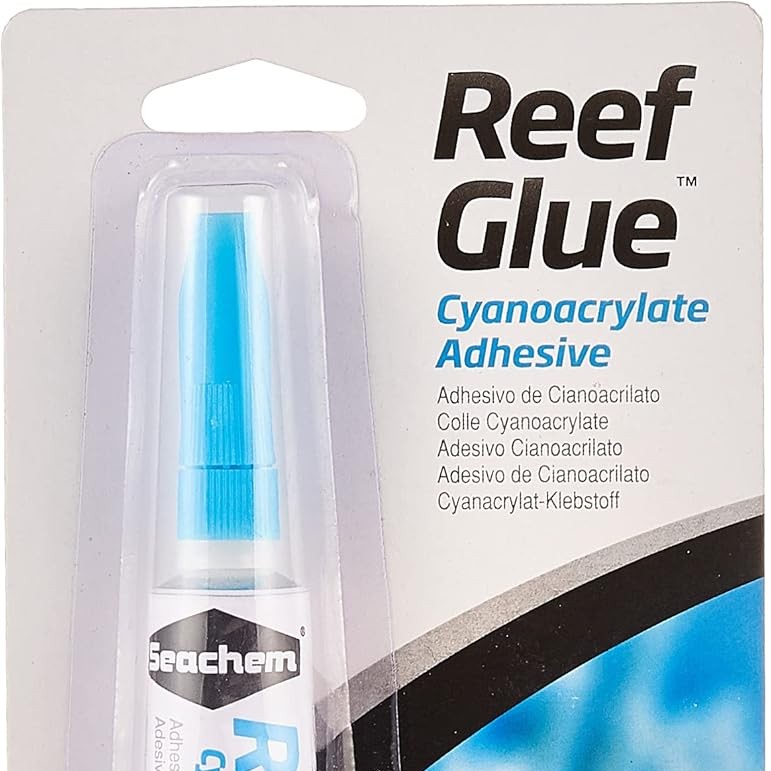
Once the dry fit is dialed in, start gluing from the bottom up. The cyanoacrylate gel sets in seconds and gives you enough rigidity to keep building without waiting. Apply a small bead to the joint, press, hold for 10 seconds, and move on.
Do not glue everything. Only glue joints that need immediate stability to keep building. The mortar in the next step is what actually bonds the structure permanently. Relying too much on CA glue creates brittle joints that can fail when the mortar is applied.

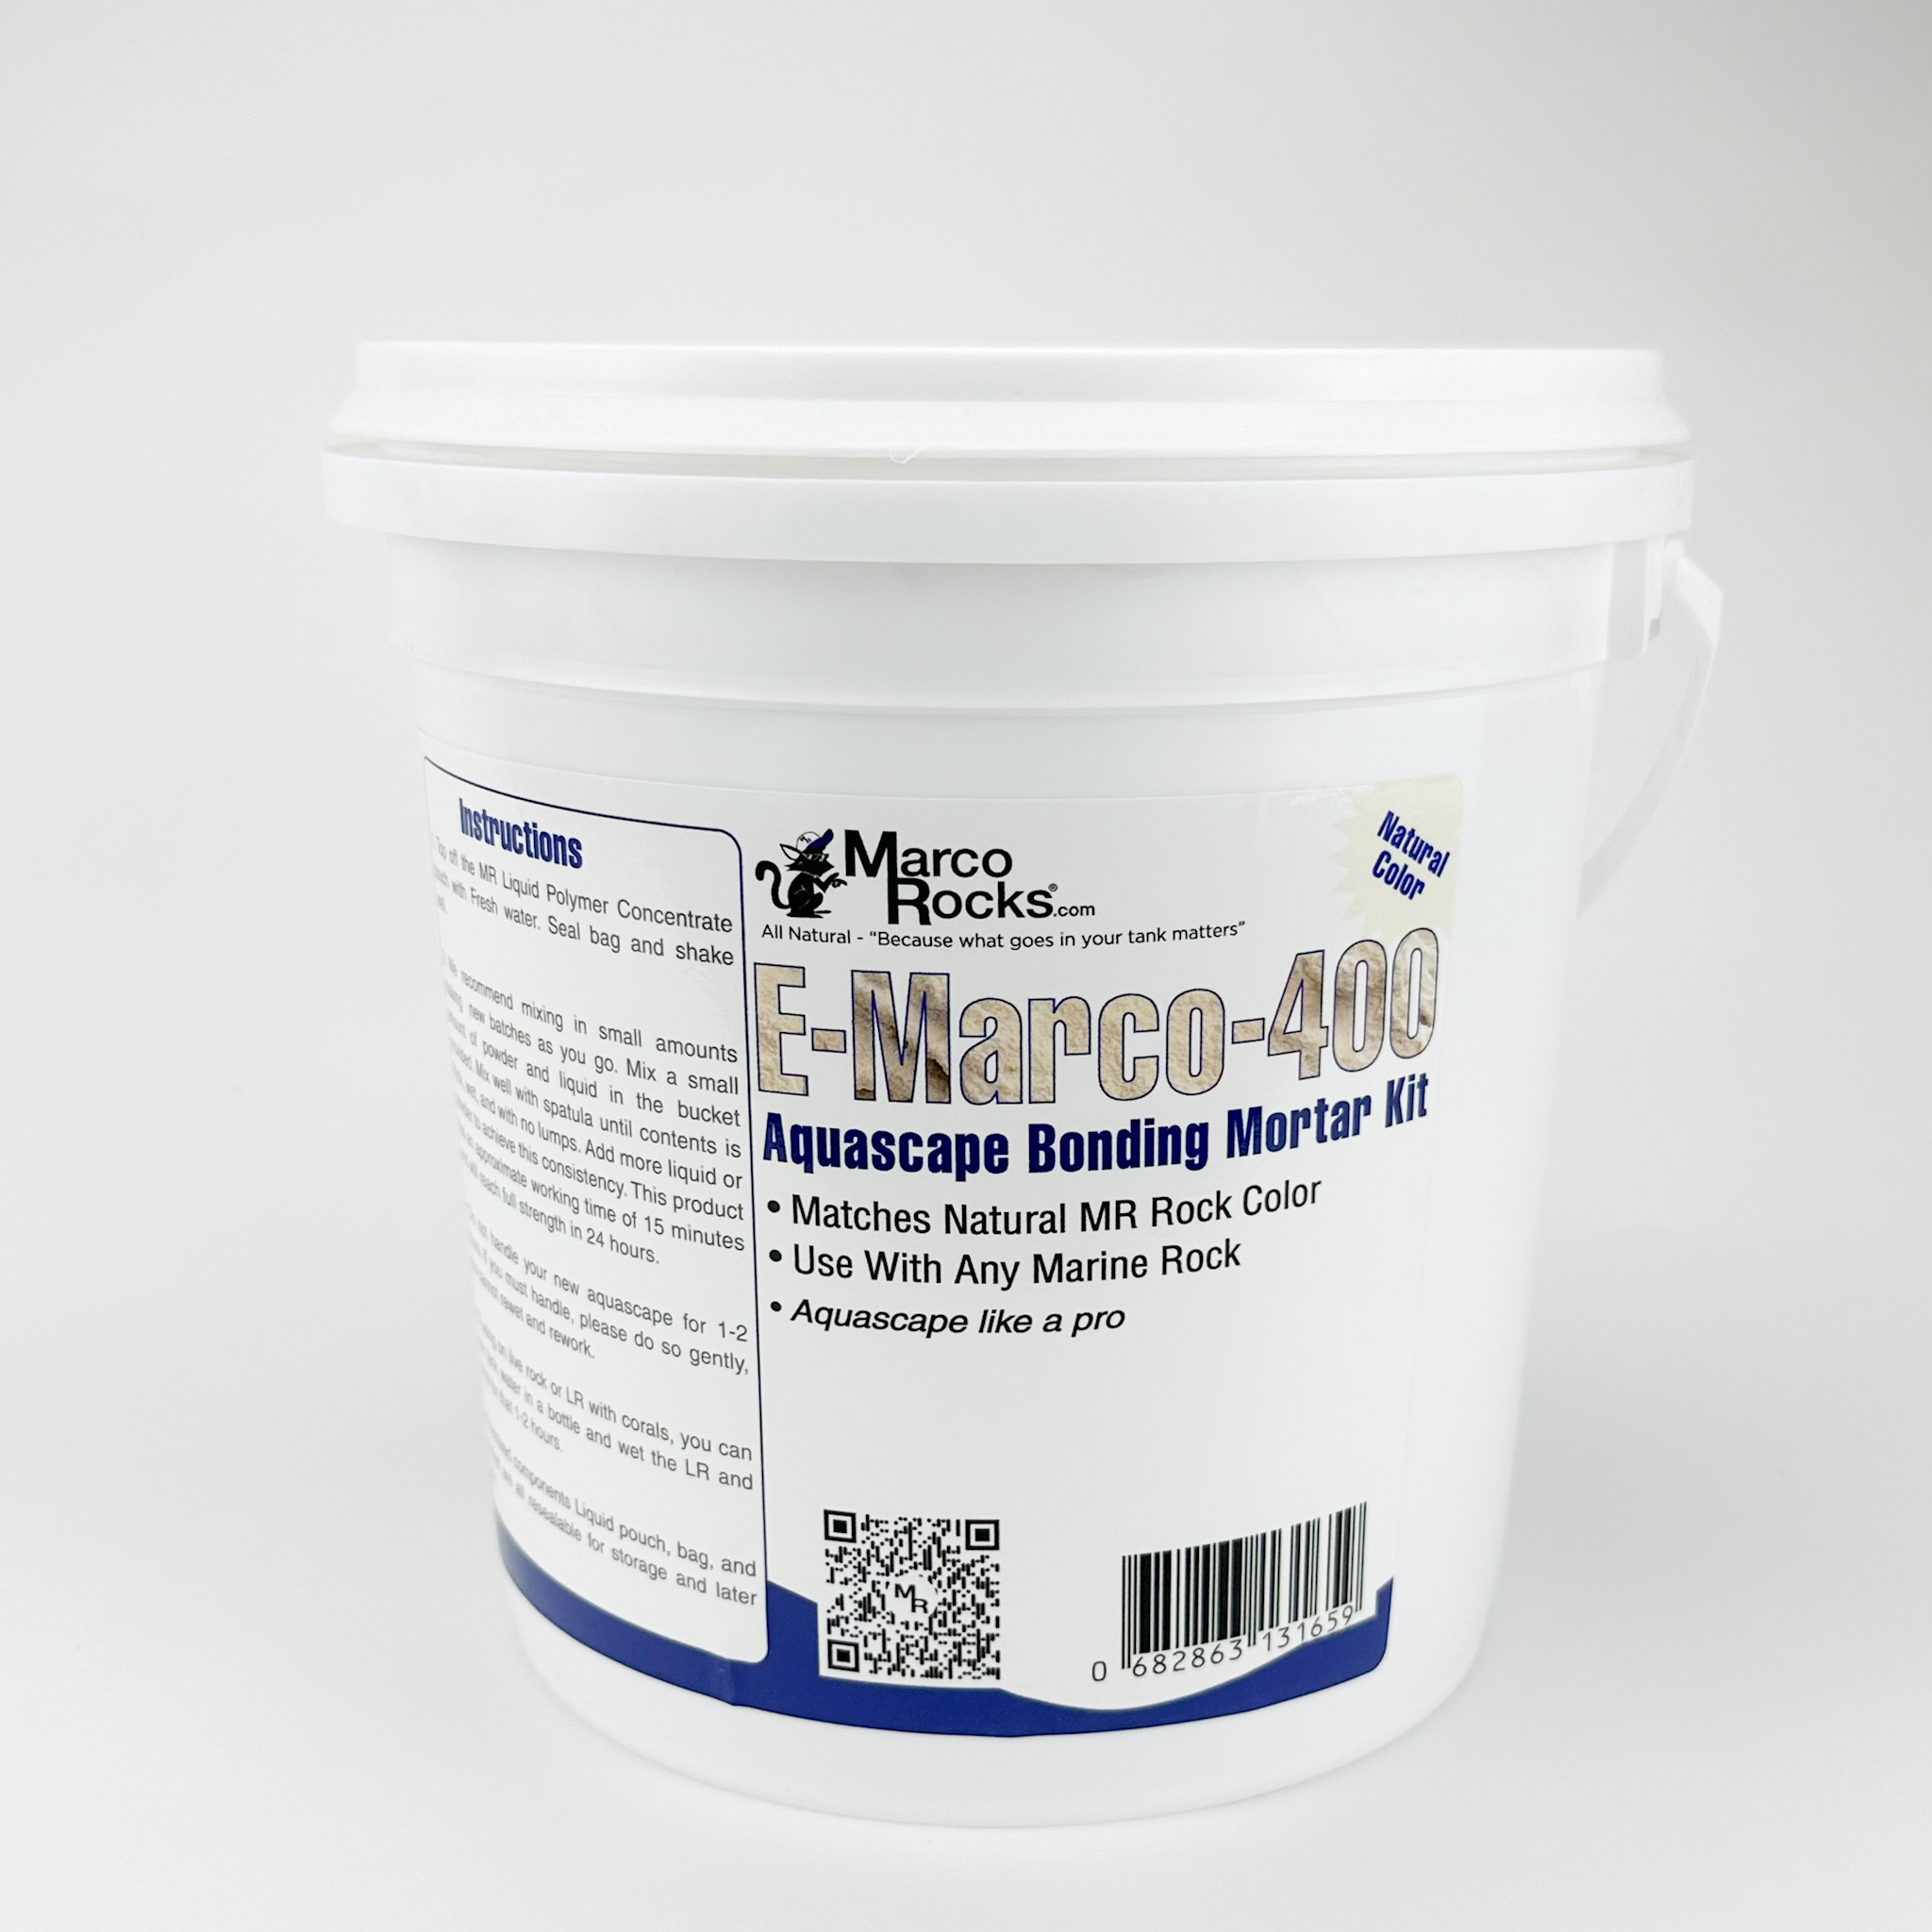
8. Step 5: Apply E-Marco Mortar
E-Marco-400 is the industry standard for reef aquascaping mortar. It cures reef safe, does not leach phosphates, and sets hard enough that a properly mortared scape is essentially one solid piece of rock.
Mix the mortar to a peanut butter consistency and work it into every joint from the inside of the structure outward. Do not just skim the surface of joints. Pack it in. On external seams, finish the mortar flat and immediately dust it with dry rock powder from your cutting debris to blend the color. Once cured the mortared joints become nearly invisible.
Let the mortar cure for 24 to 48 hours before moving the structure.

9. Step 6: Stage for Installation
Before putting the finished scape in the tank, place it on a piece of egg crate or a thin piece of acrylic. This does two things: it protects the tank glass from the weight of the rock, and it gives you a stable platform to slide the whole structure in as a unit rather than trying to maneuver individual rock sections while avoiding coral.
For larger scapes, build sections in place rather than trying to build one monolithic structure and move it. A scape that is too heavy or too wide to handle safely is a liability.

10. Curing Before Adding Coral
Fresh dry rock and E-Marco mortar need to be cured before you add coral. This is not optional. Uncured rock and mortar will spike ammonia and can release silicates that fuel diatom or dino blooms.
The standard cure is to submerge the finished scape in a rubbermaid container with saltwater and a powerhead. Change the water weekly. The rock is ready when a full water change no longer causes an ammonia reading. This typically takes 4 to 6 weeks for a large scape. Running it through the normal tank cycle with live sand and a bacterial supplement is also an option.
The upside is that you can use this curing period to seed the rock with beneficial bacteria and coralline algae before the first coral goes in, so your scape looks established from day one.

11. Tips for Placing Arcane Corals on a Custom Scape
A custom structure gives you real control over where each coral lives. Here is how I use it for the specific morphs we grow out.
Named LPS (hammers, torches, frogspawn): Place these at mid level on outward facing surfaces. They need the tentacles visible and the flow indirect. Avoid positions where multiple LPS sweeper zones overlap.
SPS acropora and montipora: Peaks and upper surfaces with maximum light and strong, randomized flow. The flat tops of custom rock formations are ideal branching acro territory. Keep them away from LPS sweeper reach.
High value single polyp corals (chalice, blastos, acans): Overhangs and lower surfaces where they get indirect light and low to medium flow. The underside of a mortar filled ledge is perfect real estate that most hobbyists waste.
Frag plugs sit awkwardly on natural rock. I drill small divots into softer Marco Rocks pieces during the build stage specifically for accepting standard 25mm plugs flush. One afternoon of drilling during the dry-fit stage creates dozens of clean mounting points that look intentional once the coral grows out.
Recorded April 2026, from the fish room in Warner Robins.