Fragging is how hobbyists propagate coral. You cut a piece from a mother colony, mount it on a plug, and grow it into a new colony. Done correctly it does not harm the parent, produces sellable or tradeable frags, and is how most aquacultured coral enters the hobby.
1. Why Frag
There are three main reasons to frag your coral. First, it controls growth. LPS corals like hammer and torch will eventually outgrow their allotted space and need to be reduced. Second, it creates insurance. If disease or a parameter crash wipes out your display, frags kept separately survive. Third, frags are tradeable. Local reef clubs, online markets, and shops will buy or trade quality frags, which offsets the cost of the hobby significantly.
Aquacultured frags are also more sustainable than wild-caught coral. Every frag you sell or trade replaces a piece that would otherwise come off a reef somewhere in the Pacific.
2. Tools
The tools you need depend on the coral type. A basic LPS fragging kit is inexpensive and covers most of what a hobbyist will encounter.
For SPS and harder skeletal material, a tile saw or Dremel with a diamond blade gives much cleaner cuts than bone cutters. A dedicated frag saw is worth the investment if you are fragging acropora or hard montiporas regularly.
3. Fragging LPS
LPS corals like hammer, torch, frogspawn, and Duncan are the easiest corals to frag. Most have distinct branches or heads that can be isolated with a single cut.
Branching Hammer and Torch
- Turn off all flow in the tank and allow the coral to retract its tentacles. Some hobbyists remove the whole colony to a bucket of tank water to work.
- Identify the branch you want to remove. Branching euphyllia grows heads on individual stalks. Target one with a fully formed head.
- Position bone cutters at the base of the branch where it meets the main skeleton. Cut cleanly in one motion. Hesitation results in a messier cut and more tissue damage.
- Place the cut frag immediately into a dip solution for 5 to 10 minutes per product instructions.
- Apply gel super glue to a frag plug. Press the cut base of the frag into the glue and hold for 30 to 60 seconds until set.
- Return to the tank or a healing frag rack. The parent colony will typically re-extend within a few hours.
Wall Hammer and Wall Frogspawn
Wall forms are harder to frag because all polyps share a single connected skeleton. A clean cut requires going through live tissue. Use a tile saw or band saw for the cleanest result. Bone cutters will crush and split the wall unevenly, increasing the chance of recession.
Make cuts between polyp mouths where tissue coverage is thinnest. Dip immediately and expect the cut edge to look stressed for several days before recovering.
4. Fragging Soft Coral
Soft corals like Sinularia, Kenya tree, and toadstool leather are among the easiest corals to propagate. They contain no hard skeleton. A clean blade is all you need.
- Use a clean, sharp blade. A scalpel or razor blade works well. Sterilize with alcohol and rinse before use.
- Cut a branch or section cleanly from the base. For toadstools, cut a section of the cap including the margin edge.
- Mount cut pieces to a frag plug using a rubber band or mesh sleeve to hold them in place while they attach. Soft corals will not hold glue on their own initially.
- Place in moderate flow. The frag will typically attach itself to the plug within 1 to 2 weeks.
- Remove the rubber band once the frag has clearly attached and is standing upright on its own.
Leathers often enter a "sliming phase" after cutting, secreting a protective mucus coat and remaining closed for several days. This is normal. Do not intervene unless the tissue is visibly decomposing.
5. Fragging Plating Corals and SPS
Plating corals — both LPS like Pectinia and SPS like Montipora — share the same fragging logic. The key concept is the growth margin edge: the thin, actively growing perimeter of the plate. Every frag you cut needs to include a section of that edge to continue spreading. Interior-only cuts produce a frag with no growth front and very little future.
Pectinia and Plating LPS
Pectinia (Space Invader, Easter Egg) are plating LPS. Use a tile saw or band saw. Make cuts that radiate outward from the center so each piece includes raised polyp mouths and a section of the growing perimeter edge. Mount with epoxy, tissue side up. These corals are sensitive to handling — keep the cut brief and dip immediately.
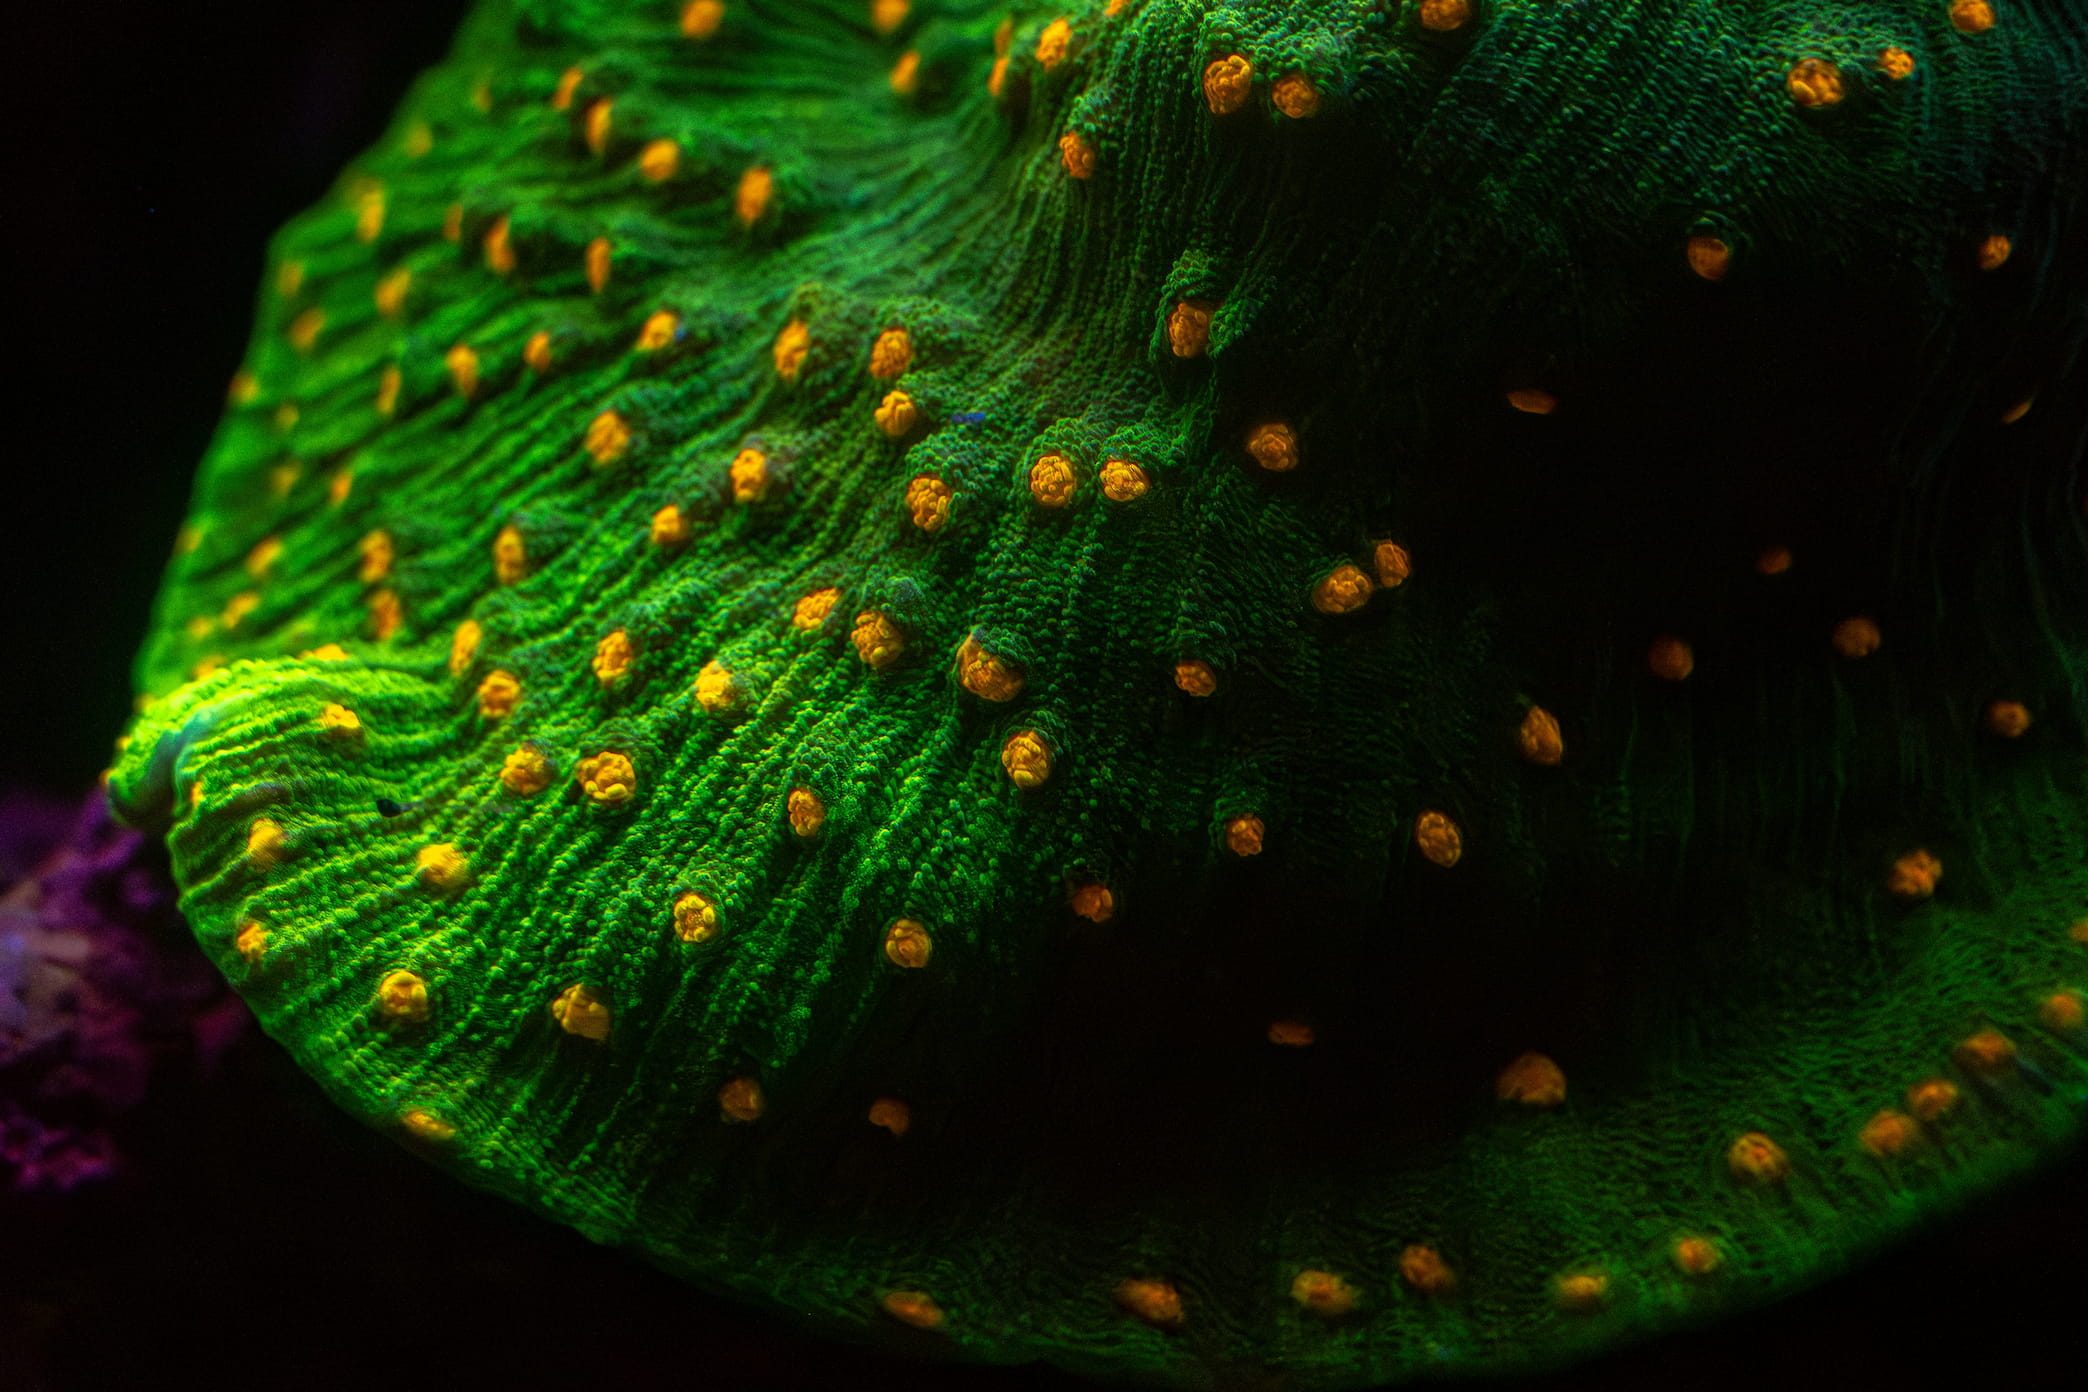
Montipora
Plating Montipora (like the grafted Montipora capricornis we grow) follows the same approach. Cut sections with a tile saw or band saw that include the growth margin. Mount flat sections to plugs with epoxy or super glue. Avoid covering the growing edge. Branching Montipora can be snapped or cut with bone cutters like acropora.
Acropora
Acropora branches snap cleanly with bone cutters on smaller colonies. For larger, thicker branches a band saw or Dremel produces less stress on the tissue. Target branch tips 2 to 3 inches long. Mount to a plug with super glue gel at the cut base. Keep frags in high flow and strong light to match the parameters of the parent colony.
6. Healing and Mounting
Most LPS frags will show some stress for 24 to 72 hours after fragging. Tentacles partially retracted, tissue slightly pulled back from the cut edge. This is normal. Stable parameters and clean water accelerate recovery.
Keep fresh frags in moderate flow rather than high flow while healing. Avoid spot feeding for the first few days. Do not move frags repeatedly. Consistent placement reduces handling stress.
A dedicated frag tank with a frag rack keeps newly cut pieces organized and easy to monitor. Running activated carbon during the healing period helps remove any chemical signals released during cutting that might stress other corals in the same system.
7. Common Mistakes
- Cutting too small. Frags under an inch rarely survive the stress of cutting and mounting. Target pieces large enough to have established tissue on all sides of the cut.
- Skipping the dip. Fresh cuts are open wounds. Pests and bacteria that would not affect a healthy sealed colony can colonize cut tissue rapidly. Always dip.
- Moving frags before they attach. A frag that gets knocked off its plug before attaching has to start the process over. Use enough glue and give it time.
- Fragging stressed coral. Never frag a coral that is already showing signs of stress. A coral that is not fully open, has receding tissue, or is in an unstable tank will not recover from the additional stress of fragging.
- Ignoring the parent colony. Check the mother after fragging. The cut site should begin to seal within 24 hours. If it shows signs of tissue recession spreading from the cut, intervene early.
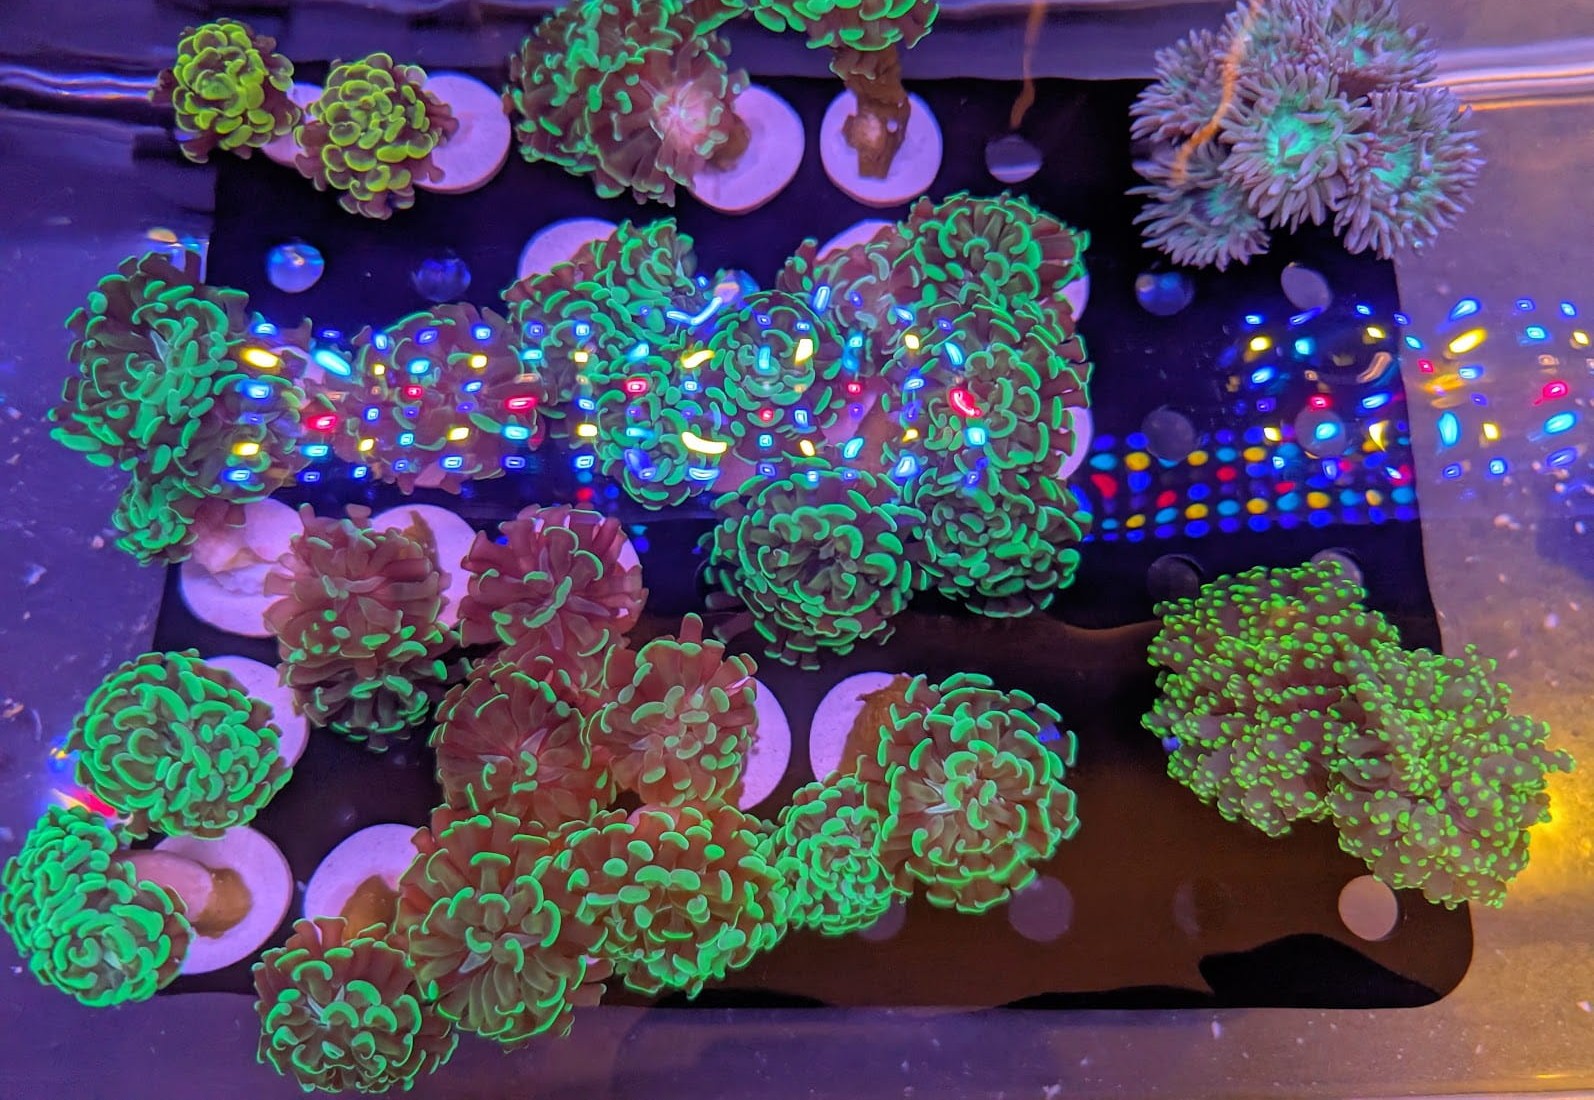
From Our Grow-Out
Aquacultured Frags. First Drop Summer 2026.
Every frag in The Apothecary is cut from established mother colonies in our fish room. Hammer coral, grafted montipora, Sinularia, and Acropora. Join the waitlist for early access.
Join the Waitlist →